Plan Stage Blocking for a Solo Number
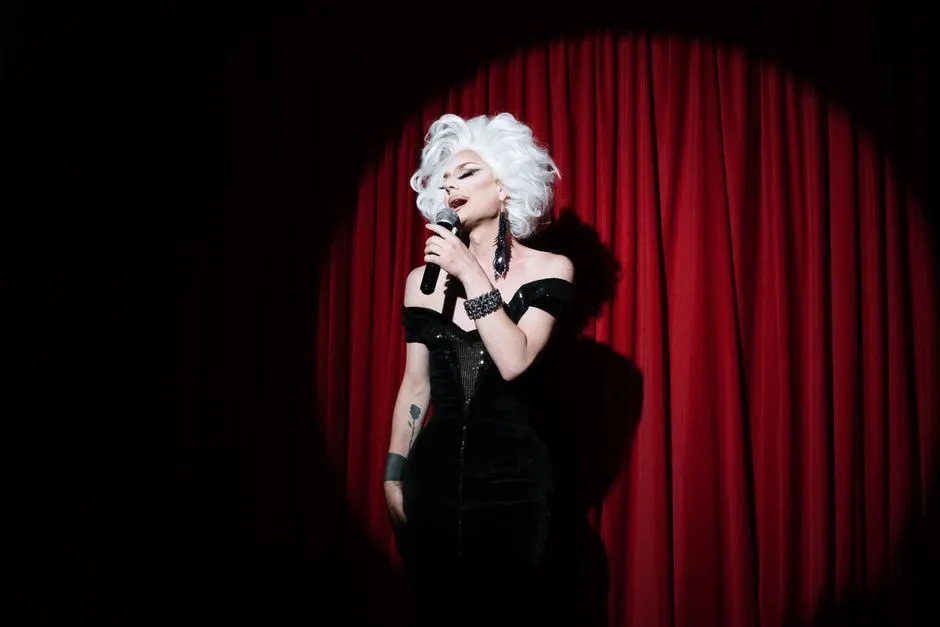
Map the real stage before choreographing it
Plan solo stage blocking by learning the usable dimensions, entrances, exits, floor condition, audience edges, monitors, cables, stairs, sightline obstacles, and venue boundaries. Then assign each musical section a position, path, and audience relationship.
A stage diagram drawn from memory is useful until the real room contains a pillar, a speaker, and one staircase apparently designed by a villain.
Divide the space by purpose
Sketch the stage from above. Mark center, downstage, upstage, left, right, entrances, technical equipment, no-go areas, and safe audience-interaction zones. Confirm terminology with the production team because directions may be given from performer or audience perspective.
Give locations jobs:
- entrance image
- direct lyric or intimate moment
- large movement phrase
- costume reveal
- prop placement or retrieval
- final picture and exit
Returning to one spot can create structure. Covering every square foot is not a requirement; the floor does not need reassurance that you noticed it.
Connect paths to the track
Use the rehearsed lyric intentions and move when a thought, rhythm, character, or energy changes. Mark exact cues for travel, stops, turns, kneels, reveals, and audience focus.
Test whether the route completes before the next vocal detail. If not, shorten the path or simplify the movement. Rushing across a stage while pretending the lyric caused it is rarely persuasive.
Protect sightlines and boundaries
Face different sections of the room without spinning constantly. Hold important expressions long enough to read. Check whether low movement disappears behind monitors or front-row heads and whether a reveal can be seen beyond one side.
Follow venue policy for stairs, platforms, audience contact, tips, thrown items, liquids, flame, confetti, and props. Obtain clear consent before physical interaction. Never block exits, enter technical areas, climb unapproved structures, or step into a crowd without a planned safe route.
Rehearse on taped marks
Measure a rehearsal area and tape major marks using a floor-safe product appropriate to the surface. Add stand-ins for monitors and stairs. Practice in actual shoes and gradually add the costume so hem, vision, heat, and balance are represented.
Use costume heat planning and stop for pain, dizziness, breathing trouble, confusion, weakness, or unstable footing. A mark is not worth reaching if the route becomes unsafe.
Build alternatives for the room
Create a compact version, full-stage version, and no-audience-contact version. Decide which gestures can shrink and which narrative beats must remain. At soundcheck, walk the paths slowly before performing them at speed.
Ask a spotter to watch clearance around wig, heel, prop, train, and removed costume pieces. Confirm where every item lands and who retrieves it.
Write a cue map anyone can read
List timestamps or lyric cues beside locations and technical needs. Share only the cues the operator or stage manager needs, using their requested format. Keep the map updated when the track edit changes.
Return to the performance concept for the final test: does each move reveal character or make the central turn clearer? If not, stand still with purpose. Stillness is blocking too, and it never trips over the monitor.